
A client sits down, shows a photo on their phone, and asks for a very clean crown cut. Twenty minutes later, the result does not resemble the reference. The problem rarely stems from a lack of raw technique: it is often due to an inaccurate reading of the skull, a poorly calibrated fade height choice, or a tool unsuitable for the hair texture.
The same traps can be found from one salon to another, and most can be resolved even before touching the clippers.
Fade too high on the crown: the trap of the “shrunken head” effect
For several seasons now, requests for corrections of fades pushed too high around the crown have been multiplying in barbershops. The effect produced is recognizable: the top of the skull appears detached from the rest, as if shrunken. The proportions of the face change, and not for the better.
The reflex that leads to this mistake is simple. We want a marked contrast, so we raise the fade. In a photo viewed from the front, it works. On a real skull, seen from the side or three-quarters, a fade that is too high flattens the volume at the top instead of highlighting it.
The problem is that you cannot lower a fade before regrowth. You can soften the transition line, balance the height by reworking the sides, but the result remains a compromise. It is better to start lower and gradually go higher than the other way around. This is a point where the common mistakes of the crown cut are documented by several professionals in the field.

Reading the vortex before the crown cut: spotting the hair growth direction
Every scalp has one or more vortices, those points where the hair spirals out. Their position varies considerably: centered, offset to the left, double vortex on the sides. If you do not spot them before starting, the clippers will create areas where the hair stands up or flattens inconsistently.
Applying the same guard all around the crown without considering the growth direction remains one of the most common and damaging actions. On very straight hair, this creates visible holes. On curly or frizzy hair, the mass appears uneven without understanding why.
What to check before using the clippers
- The exact position of the vortex (or vortices) by running your hand over the scalp, preferably with dry hair
- The dominant growth direction around the crown, which determines the angle of attack for each pass of the clippers
- The presence of lateral cowlicks that will resist the fade and require work with a comb and blade rather than just the guard
Adapting the cutting height zone by zone takes a few extra minutes. This is what separates a clean fade from a fade that “marks” the next day.
Sparse crown: keeping length worsens the problem
We regularly see clients who keep too much length above an already visibly thinning crown. The intention is logical: to cover the area. The result is the opposite. Longer strands visually frame the balding area and make it more obvious, especially under direct lighting or outdoors.
The operational advice that comes up among specialized hairdressers is to shorten the top to reduce the contrast between dense and fine areas. We are not talking about shaving everything off, but adjusting the length so that the eye is not drawn to the difference in density.
Adapting the cut to the actual stage of thinning
A slight thinning should not be treated like a clearly balding vertex. In the first case, a well-measured fade with a bit of texturizing at the top is enough to give body. In the second, a shorter fade at the top with proportionate sides avoids the “empty frame” effect produced by cuts that are too long on top.
Feedback varies on this point depending on hair texture, but the principle remains the same: we work with the actual density, not against it.
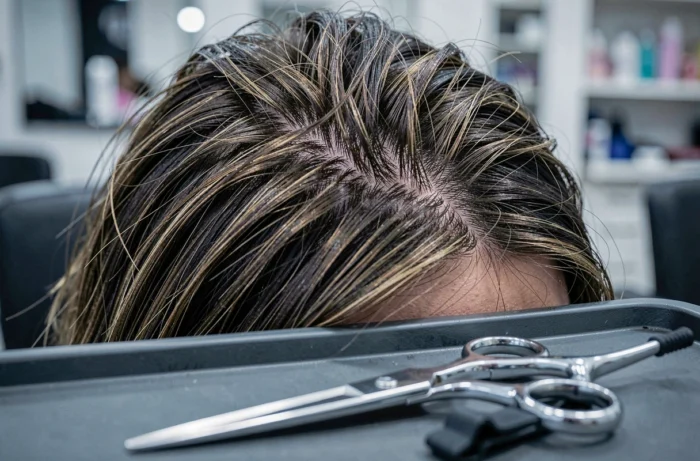
Crown cut and hair texture: the choice of tool changes everything
Fine, straight hair does not react at all like thick or frizzy hair when faced with the same clippers. The universal guards that come with most consumer clippers produce an acceptable result on medium-density hair, but they quickly show their limits at the extremes of the spectrum.
On very fine hair, the guard tends to slip without cutting some strands, leaving visible uneven lengths, especially on the crown, where the light hits directly. On frizzy hair, the guard compresses the curls unevenly, and the cut appears asymmetrical once the hair is released.
- For fine hair: work with a comb and scissors on the crown rather than with a guard, lifting strands in small sections
- For curly or frizzy hair: use guide combs suitable for curls (wider teeth respect natural volume) and cut on dry hair
- For thick, straight hair: the guard works better, but you adjust the speed of the pass to avoid “steps” in the fade
Cutting on wet hair distorts the reading of the crown because the weight of the water changes the direction and apparent volume. In this specific area, working on dry hair gives a much more reliable preview of the final result.
Maintenance of the crown cut: frequency of touch-ups and actions between visits
A well-executed crown cut loses its sharpness in two to three weeks depending on the speed of regrowth. Waiting too long between touch-ups gives a “mushroom” effect where the volume on top overflows onto the sides that are regrowing.
Between visits to the salon, you can maintain the low line of the fade with a finishing clipper, limiting yourself to the nape and contours. Touching the crown itself without visibility on the back of the skull remains risky, and this is often where home touch-ups go wrong.
It is better to have frequent visits on the contours than risky touch-ups on the top. The crown can be worked with a rear mirror or, more simply, in the salon. The rest of the maintenance can be managed at home without much risk.